Guide: How to Integrate Your WordPress Site with the eCoachManager Plugin
Integrating your WordPress site with the eCoachManager Plugin is a straightforward process. This guide will walk you through the steps to install the plugin and configure the ECM settings.
Step 1: Download the Plugin File
Obtain the ecmform.zip file from the official eCoachManager source or your designated contact.
Save it to a location on your computer where you can easily access it later.
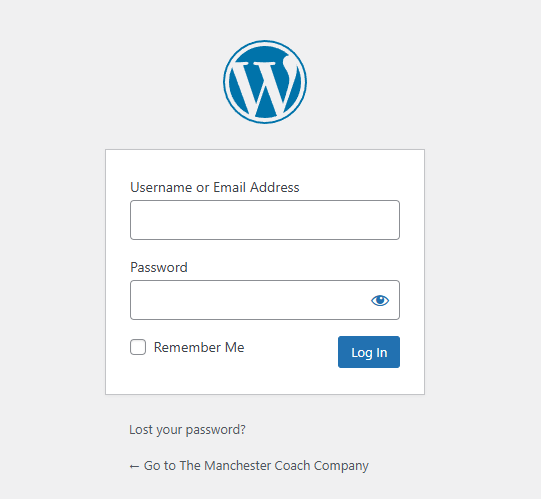
Step 2: Log in to Your WordPress Dashboard
Open your web browser and navigate to your WordPress site. Your Admin panel should be defult by yourdomain/wp-admin
Log in using your Admin credentials.
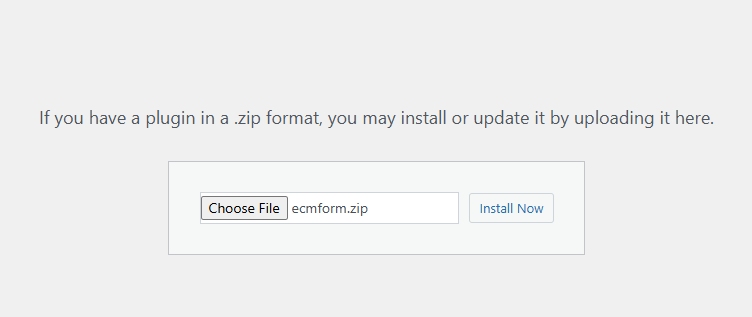
Step 3: Upload and Install the Plugin
In the WordPress dashboard, navigate to the left-hand menu and click on Plugins.
Click the Add New button at the top of the page.
Select the Upload Plugin button.
Click Choose File, locate the ecmform.zip file you downloaded earlier, and select it.
Click Install Now.
After the installation is complete, click the Activate Plugin button.
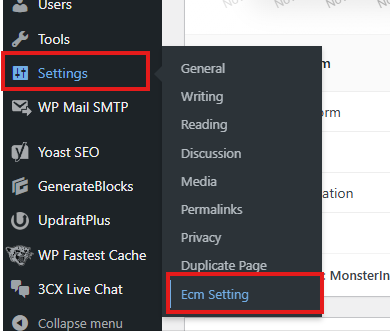
Step 4: Access the ECM Settings
Once activated, a new menu item labeled ECM Settings will appear under the Settings section in the WordPress dashboard menu.
Click on ECM Settings to access the plugin configuration options.
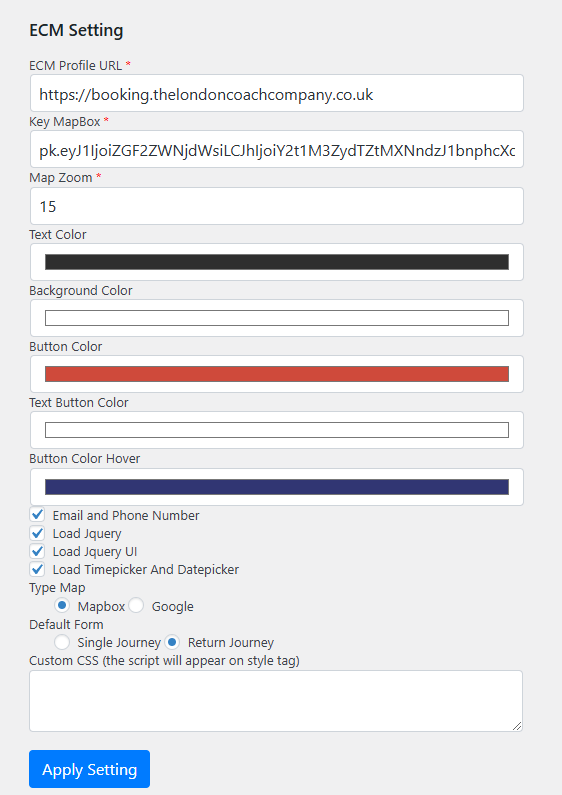
Step 5: Configure the Plugin
In the ECM Settings, enter the required details such as API keys, default settings, or any credentials provided by eCoachManager.
Save the changes after entering the necessary information.
Congratulations!
You have successfully integrated your WordPress site with the eCoachManager plugin.
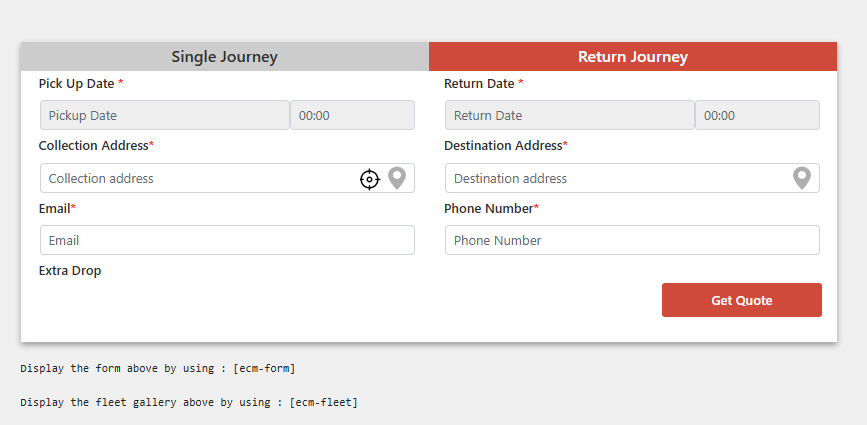
You can put the ECM form on any place on your website by use shortcode [ecm-form]
If you encounter any issues or need assistance, please contact support@ecoachmanager.com. The support team will be happy to help!